NVMe SSD throttling happens when the controller reduces speed to protect itself from sustained heat, causing sudden drops in transfer rate and inconsistent latency. To keep performance stable, measure real workloads first, then choose an M.2 heatsink that fits your slot and airflow, install thermal pads correctly, and apply firmware/OS settings that prevent unnecessary heat spikes.
Essential thermal priorities for SSD longevity and performance
- Diagnose before buying parts: confirm the slowdown is SSD NVMe ร้อน throttling, not SLC cache behavior or background writes.
- Cool the controller first; NAND temperature matters, but controller hotspots usually trigger throttling earlier.
- Pick a heatsink that actually fits your motherboard layout (GPU backplate clearance, M.2 shields, laptop covers).
- Thermal pads must match component heights; wrong thickness can reduce contact and worsen temps.
- Airflow beats mass alone: even a good heatsink under a stagnant GPU zone can still throttle.
- Validate with repeatable tests and logs; accept "stable and consistent" over chasing the lowest number.
Understanding SSD thermal behavior and throttling thresholds
This guide fits intermediate PC/laptop users who can open a case, update firmware, and read SMART/telemetry. It's most useful when you see repeatable speed collapses during long copies, game installs, video cache/scratch work, or sustained benchmarks.
Skip physical heatsink mods when your device is sealed, under warranty constraints, or uses vendor-specific cooling (common in thin laptops). Also avoid stacking heatsinks if clearance is tight: a warped M.2 module or shorted components is worse than throttling.
Instead of relying on a universal "throttle temperature," use your drive's own signals: SMART composite temperature, controller temperature (if exposed), and any "thermal throttle" counters/flags. Throttling typically shows as a sharp performance step-down that remains until the drive cools.
Measuring real-world SSD temperatures: tools and protocols
Use at least one telemetry tool plus a simple, repeatable workload. Measure idle, short burst, and sustained load, and log results so you can compare "before vs after" changes when applying วิธีลดความร้อน SSD NVMe.
| Prep item | Recommended tool/part | Why you need it | Pass criteria (before you proceed) | Fail signals (stop and fix first) |
|---|---|---|---|---|
| Temperature + SMART monitoring | CrystalDiskInfo (Windows) / smartctl (Linux) / vendor SSD tool | Confirms whether heat correlates with slowdown | Can read temperature and SMART health reliably | No sensor readings, tool shows N/A, or intermittent detection |
| Workload generator | Large file copy; DiskSpd (Windows); fio (Linux) | Creates sustained writes/reads to reproduce throttling | Test runs consistently and is repeatable | Results vary wildly due to other bottlenecks (USB drive, network, RAM disk) |
| Physical access + ESD safety | Phillips screwdriver; anti-static precautions | Safe install and re-check mounting pressure | You can remove/install M.2 without forcing parts | Stripped screws, flexing motherboard, or connector feels misaligned |
| Cooling hardware choice | M.2 heatsink (or motherboard M.2 shield) + thermal pads | Improves heat transfer and steadies performance | Heatsink fits length (e.g., 2280) and clears GPU/cover | Contact points don't line up; pad too thick; heatsink collides with other parts |
| Firmware/driver update access | Drive vendor updater; chipset/storage drivers | Fixes thermal management quirks and link stability issues | Firmware update path is clear and power is stable | Unstable power, unknown drive model/firmware, or critical data not backed up |
Quick, safe measurement protocol
- Log baseline idle: After boot, wait for background tasks to settle, then record SSD temps and link speed.
- Run a sustained workload: Prefer sequential write/read for 5-15 minutes, or copy a single very large file to keep the drive busy.
- Watch for the signature: If throughput drops sharply and remains low until temperatures fall, that's consistent with thermal throttling.
- Capture evidence: Save screenshots/logs of temps and the time the performance drop happens.
Command examples (optional)

- Windows (DiskSpd):
diskspd -c20G -d300 -Sh -w100 -t1 -o32 -b1M C:testfile.dat(sustained write) - Linux (SMART + NVMe):
sudo smartctl -a /dev/nvme0andsudo nvme smart-log /dev/nvme0 - Linux (fio sustained write):
fio --name=nvme --filename=/mnt/nvme/test --size=20G --time_based --runtime=300 --rw=write --bs=1M --iodepth=32 --direct=1
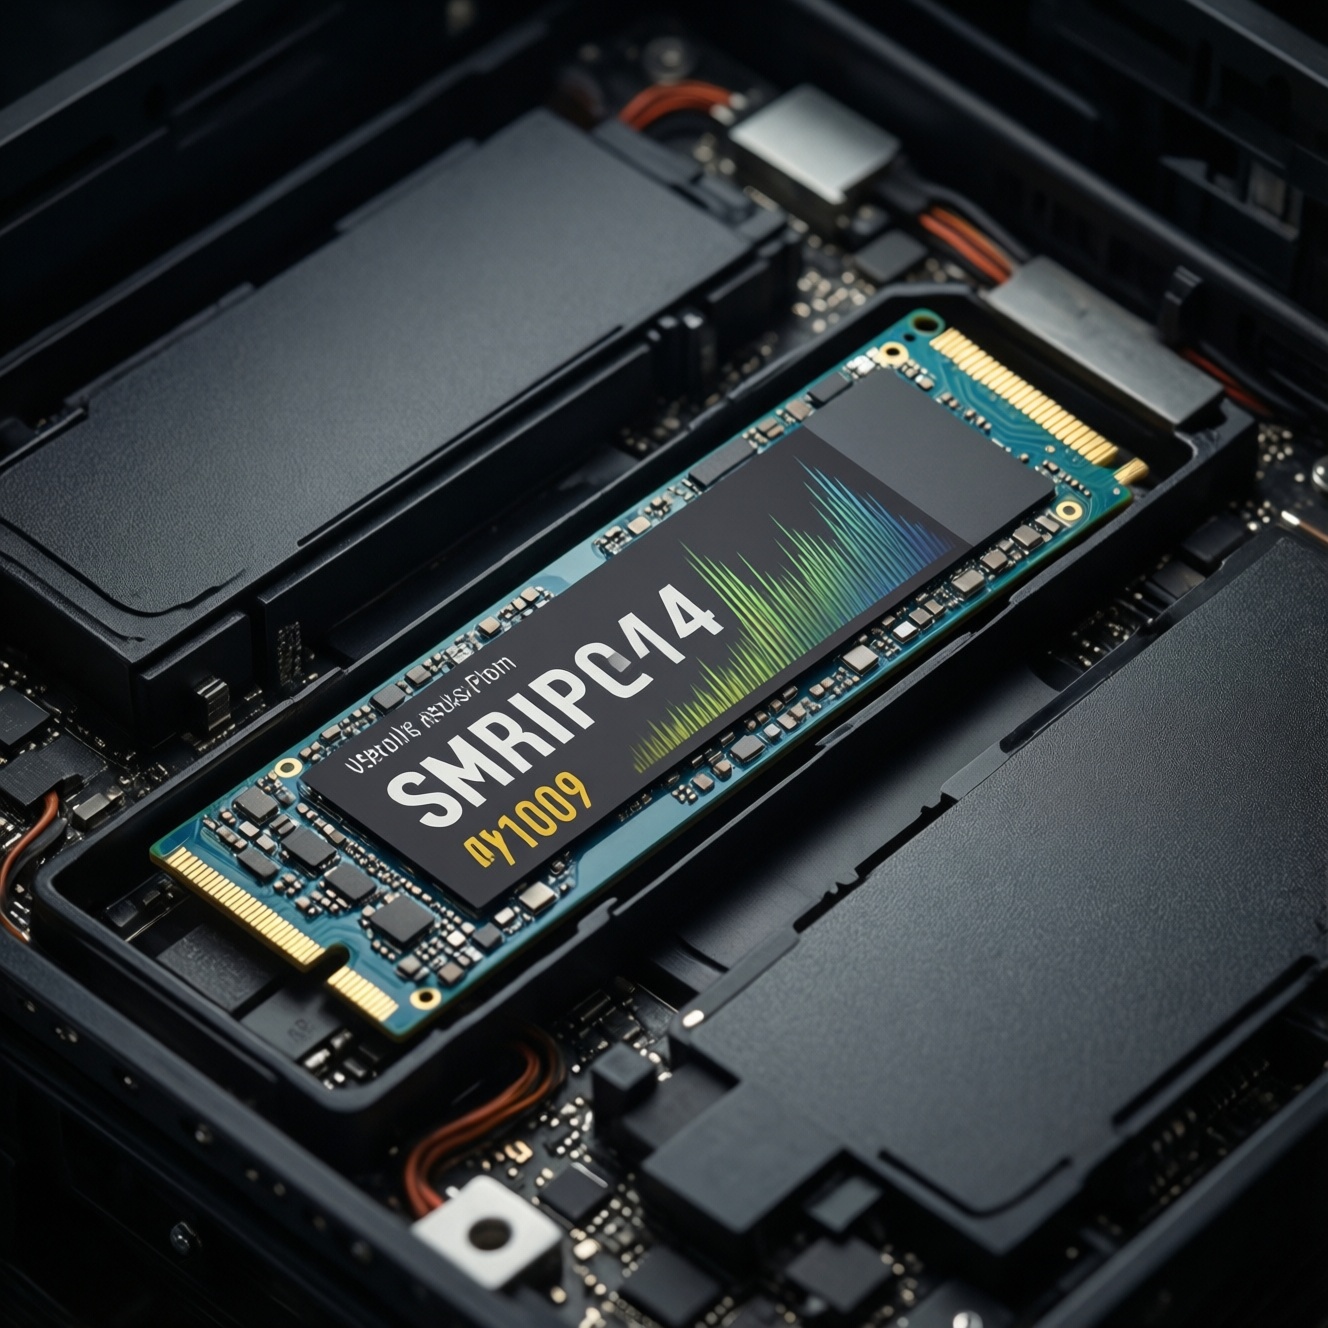
Heatsink types and materials: choosing the right cooler for NVMe
- Back up important data before changing firmware, drivers, or hardware.
- Confirm your M.2 length (e.g., 2230/2242/2280) and whether it's single- or double-sided.
- Check motherboard layout: M.2 location under GPU is a high-risk heat zone.
- Decide whether you'll use the motherboard's built-in M.2 shield or a third-party heatsink.
-
Decide if you need a heatsink at all
If your logs show stable performance under sustained load, you may not need extra cooling. If you see repeatable slowdowns that correlate with rising temperature, prioritize a fit-for-purpose ฮีตซิงก์ SSD NVMe.
- Use the board's M.2 shield when it has a proper thermal pad and decent airflow.
- Use a third-party heatsink when the shield is cosmetic, missing pads, or airflow is poor.
-
Choose a form factor that won't cause clearance problems
Low-profile is usually safer under GPUs and in SFF cases. Tall fin stacks can work well only if you have real airflow and no collision with a GPU backplate or chassis cover (common when people ซื้อฮีตซิงก์ SSD M.2 without measuring).
- Desktop under-GPU M.2: prefer low-profile + directed airflow.
- Laptops: only use manufacturer-approved thermal plates/pads; avoid bulky aftermarket parts.
-
Match thermal pad thickness to component height
Pad thickness is about making contact, not "more is better." Too thick can bow the PCB; too thin leaves air gaps and increases hotspot temperature.
- If the SSD is double-sided, ensure the heatsink design supports both sides (or accept that only one side is cooled).
- Prefer pads that cover the controller area reliably; that's the critical hotspot for throttling.
-
Pick a heatsink style that matches your airflow reality
A heavier block can help, but fins + airflow typically stabilize sustained loads better. If your case airflow is weak, consider adding a small fan to improve the local air exchange rather than only adding mass.
- Front-to-back airflow: align fins to the airflow path when possible.
- Top exhaust only: ensure the M.2 area isn't trapped in a dead zone.
-
Prefer integrated, engineered solutions when available
If your motherboard includes a proper M.2 heatsink/shield, use it first. If you buy a drive labeled SSD NVMe พร้อมฮีตซิงก์, confirm it fits your slot location and doesn't interfere with other heatsinks.
- Pre-attached heatsinks can be great, but are sometimes too tall for certain boards or laptop bays.
- Do not stack a motherboard shield on top of a pre-attached drive heatsink.
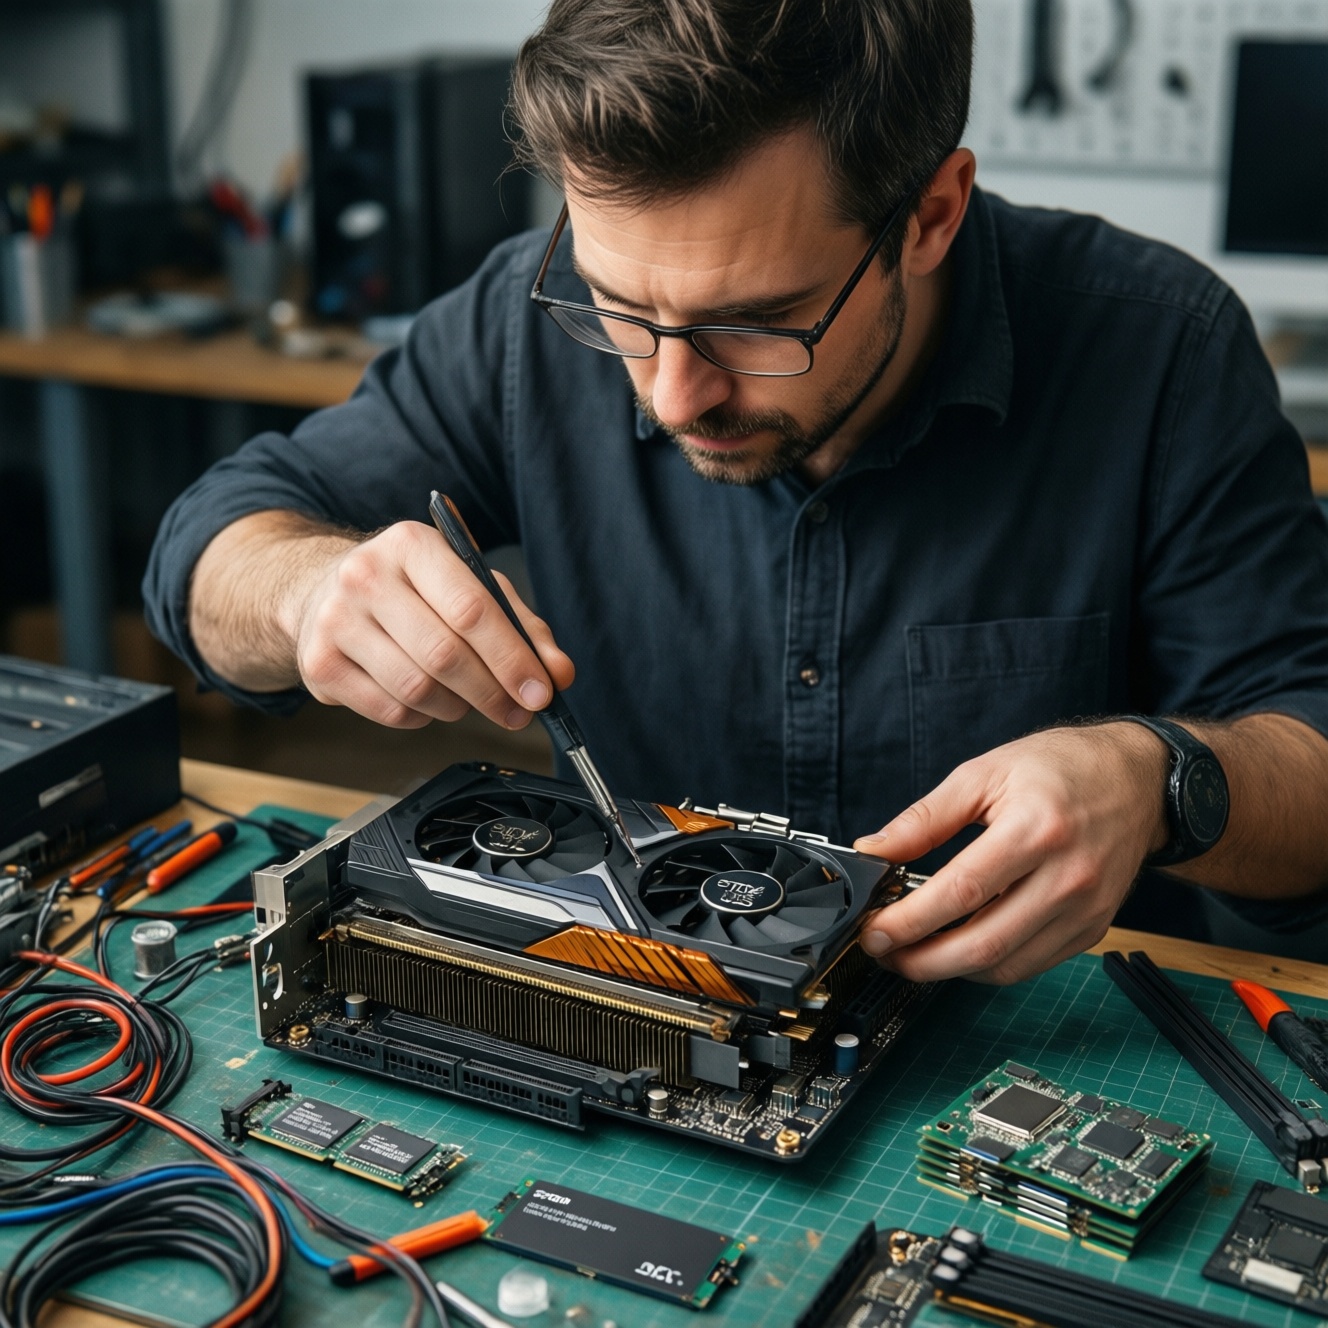
Installation checklist: thermal pads, mounting torque and chassis airflow

- Power off, unplug, and discharge; use anti-static precautions before touching the M.2 module.
- Remove protective films from thermal pads on both sides (a common miss).
- Align pad coverage so the controller and main packages make contact; avoid covering connectors or shorting components.
- Do not over-tighten the M.2 screw or heatsink clamps; the SSD should sit flat without PCB bowing.
- Confirm heatsink clearance: no contact with GPU backplate, RAM latches, or case panels.
- Re-check that the M.2 edge connector is fully seated; partial insertion can cause link drops and heat.
- Restore any M.2 shield in the correct order (pad → SSD → shield), and don't stack shields/heatsinks.
- Improve local airflow if the slot is in a hot pocket (often under the GPU): add a gentle airflow path rather than sealing it.
- After first boot, verify the drive is detected and link speed is normal before running stress tests.
Firmware, driver and OS settings to mitigate thermal throttling
- Skipping firmware updates: outdated SSD firmware can mis-handle thermal management; update only from the official vendor tool and keep power stable.
- Using generic or old chipset/storage drivers: install current platform drivers (AMD/Intel) to avoid link power quirks and instability.
- Forcing "High performance" everywhere: it can keep the controller hot at idle; use balanced defaults unless you verified a real performance need.
- Misconfigured PCIe Link State Power Management: overly aggressive power saving can cause latency spikes; overly aggressive performance can raise temps-change one setting at a time and re-test.
- Ignoring background writes: indexing, sync clients, and game launchers can create sustained writes that look like throttling; pause them during diagnosis.
- Benchmarking on a nearly full drive: low free space increases write amplification and heat; keep meaningful free space before testing.
- Stacking heatsinks or mixing pads: combining the motherboard shield with an aftermarket heatsink often ruins contact and traps heat.
- Placing the hottest drive under the GPU: if your board has multiple M.2 slots, move the high-activity NVMe to a cooler slot and re-test.
Stress testing and validation: benchmarks, logging and acceptance criteria
Use the same workload you used for baseline and compare curves: performance over time plus temperature over time. Your acceptance criteria should be practical: "no sudden sustained drops during my real workload" rather than chasing a single temperature value.
Validation options (pick what matches your use case)

- Sustained file copy (realistic): best for creators and gamers installing large titles; look for consistent MB/s without a cliff-drop.
- Synthetic sustained write/read (controlled): DiskSpd/fio gives repeatability; good for confirming a cooling change actually helps.
- Mixed workload test (system-like): use mixed read/write patterns if your slowdown occurs during multitasking or VM work.
- Slot relocation A/B test (hardware alternative): move the SSD to another M.2 slot to prove the issue is case/GPU heat soak rather than the drive itself.
Common thermal dilemmas and concise remedies
My NVMe is fast for 30-60 seconds, then slow. Is that always throttling?
No. It can be SLC cache exhaustion or background activity. Confirm with temperature logs and a repeatable sustained test before changing hardware.
Should I buy a tall fin heatsink for maximum cooling?
Only if you have clearance and airflow. Under a GPU or in an SFF case, a low-profile heatsink plus better airflow is usually safer and more consistent.
Can a thicker thermal pad reduce temperatures more?
Not reliably. Too-thick pads can prevent proper contact or bend the SSD; the correct thickness is the one that creates even contact without pressure deforming the PCB.
Is using the motherboard M.2 shield enough?
Often yes, if it includes a real thermal pad and isn't trapped in a stagnant heat zone. Verify with logs after installation rather than assuming it works.
Do I need to cool both sides of a double-sided NVMe?
It helps, but prioritize solid contact over the controller side first. If your heatsink only cools one side, ensure that side includes the controller hotspot.
What's the safest way to confirm my fix worked?
Re-run the exact baseline workload and compare performance-over-time and temperature-over-time logs. A good fix removes the sustained "cliff drop" behavior during the same test.
Can OS power settings alone fix thermal throttling?
Sometimes they reduce peak heat, but they can also trade performance for lower temperatures. Use them as a secondary lever after confirming physical contact and airflow are adequate.