To upgrade an SSD without breaking your system, confirm laptop compatibility, make a verified backup, then โคลน SSD to the new drive using a stable USB-to-M.2 enclosure. After the swap, validate BIOS/UEFI boot settings and storage mode, then manage NVMe heat with proper mounting and pads to prevent throttling and random crashes.
Critical Preparations Before Upgrading Your SSD
- Create a full backup (file-level plus a system image) and confirm you can access it.
- Check your laptop's storage slot type (M.2 NVMe vs M.2 SATA vs 2.5-inch SATA) before buying.
- Ensure you have stable power for cloning (AC adapter; avoid low battery and sleep/hibernation).
- Record current BIOS/UEFI settings (boot order, Secure Boot state, storage mode) and your BitLocker/device encryption status.
- Update BIOS/UEFI and SSD firmware only if the system is stable (don't combine risky changes on the same day).
Assessing System State and SSD Compatibility
This workflow fits intermediate users doing อัปเกรด SSD โน้ตบุ๊ก while keeping the existing OS, apps, and settings. It's best when the current system boots reliably and your disk health looks normal.
- Proceed when: your current SSD has no frequent read errors, Windows boots consistently, and you can temporarily attach the new SSD via USB.
- Do not clone first when: the OS is unstable (boot loops/blue screens), the old SSD shows many bad blocks, or you suspect malware. Prefer a clean install in those cases.
- Compatibility checks: confirm interface (NVMe PCIe vs SATA), length (common M.2 sizes like 2280), and whether your laptop supports single-sided vs double-sided modules.
- Capacity rule: cloning to a smaller SSD is possible only if used data fits and partitions are resized safely beforehand.
Selecting a Reliable Cloning Strategy and Tools
You need a cloning method, a way to connect the target SSD, and admin access. If you're comparing value, keep in mind local availability and warranty can matter more than headline SSD NVMe ราคา or SSD SATA ราคา deals.
What you'll need
- Connection hardware: an enclosure/dock appropriate to the new drive. For NVMe, use an อะแดปเตอร์ M.2 เป็น USB สำหรับโคลน SSD that explicitly supports NVMe (not SATA-only).
- Cloning software: vendor migration tools (simpler) or general-purpose imaging/cloning tools (more control).
- Access: admin account, BitLocker recovery key (if encryption is enabled), and enough free space to shrink partitions if needed.
- Safety items: small screwdriver, ESD awareness, and a way to prevent sleep (power settings).
Pick an approach based on risk and flexibility
| Approach | Best for | Main risk | Mitigation |
|---|---|---|---|
| Vendor migration utility | Fast, low-friction OS move on common setups | Less control over partition layout/UEFI edge cases | Verify EFI/System partitions are copied; confirm UEFI boot after swap |
| Disk-to-disk clone (general tool) | Intermediate users needing partition control | Wrong source/target selection can wipe data | Double-check disk IDs/capacities; unplug nonessential drives |
| Image backup then restore | Recovery-friendly upgrades; flaky USB links | More steps; restore may require boot media | Create and test bootable recovery media before starting |
| Clean install (no clone) | Unstable OS or malware concerns | App reinstallation and settings rebuild | Export licenses/keys; back up user profile and drivers |
Practical Cloning Workflow: Safe Transfer of the Operating System
Risks and hard limits to respect
- Power loss during clone can corrupt both source and target operations; keep AC power connected and disable sleep.
- Encryption mismatch (BitLocker/device encryption) can cause boot prompts or missing-key events; confirm your recovery key first.
- Wrong disk selection can instantly erase data; disconnect other external drives and verify capacity/model names.
- Thermal throttling on NVMe can slow or stall long transfers; keep airflow clear and avoid soft surfaces.
-
Stabilize the current system before touching hardware
Boot normally, confirm you can sign in, and run a quick disk health check. Fix obvious file-system errors first; cloning a broken file system tends to reproduce the problem.
- Pause heavy background tasks (large downloads, indexing) during the clone window.
- Make sure you have at least one offline backup of critical files.
-
Handle encryption safely (BitLocker/device encryption)
If encryption is enabled, save the recovery key somewhere accessible without the laptop. If your cloning tool struggles with encrypted volumes, decrypt first or use an image-based method that supports it.
- Do not guess the key after the swap; confirm you have it beforehand.
-
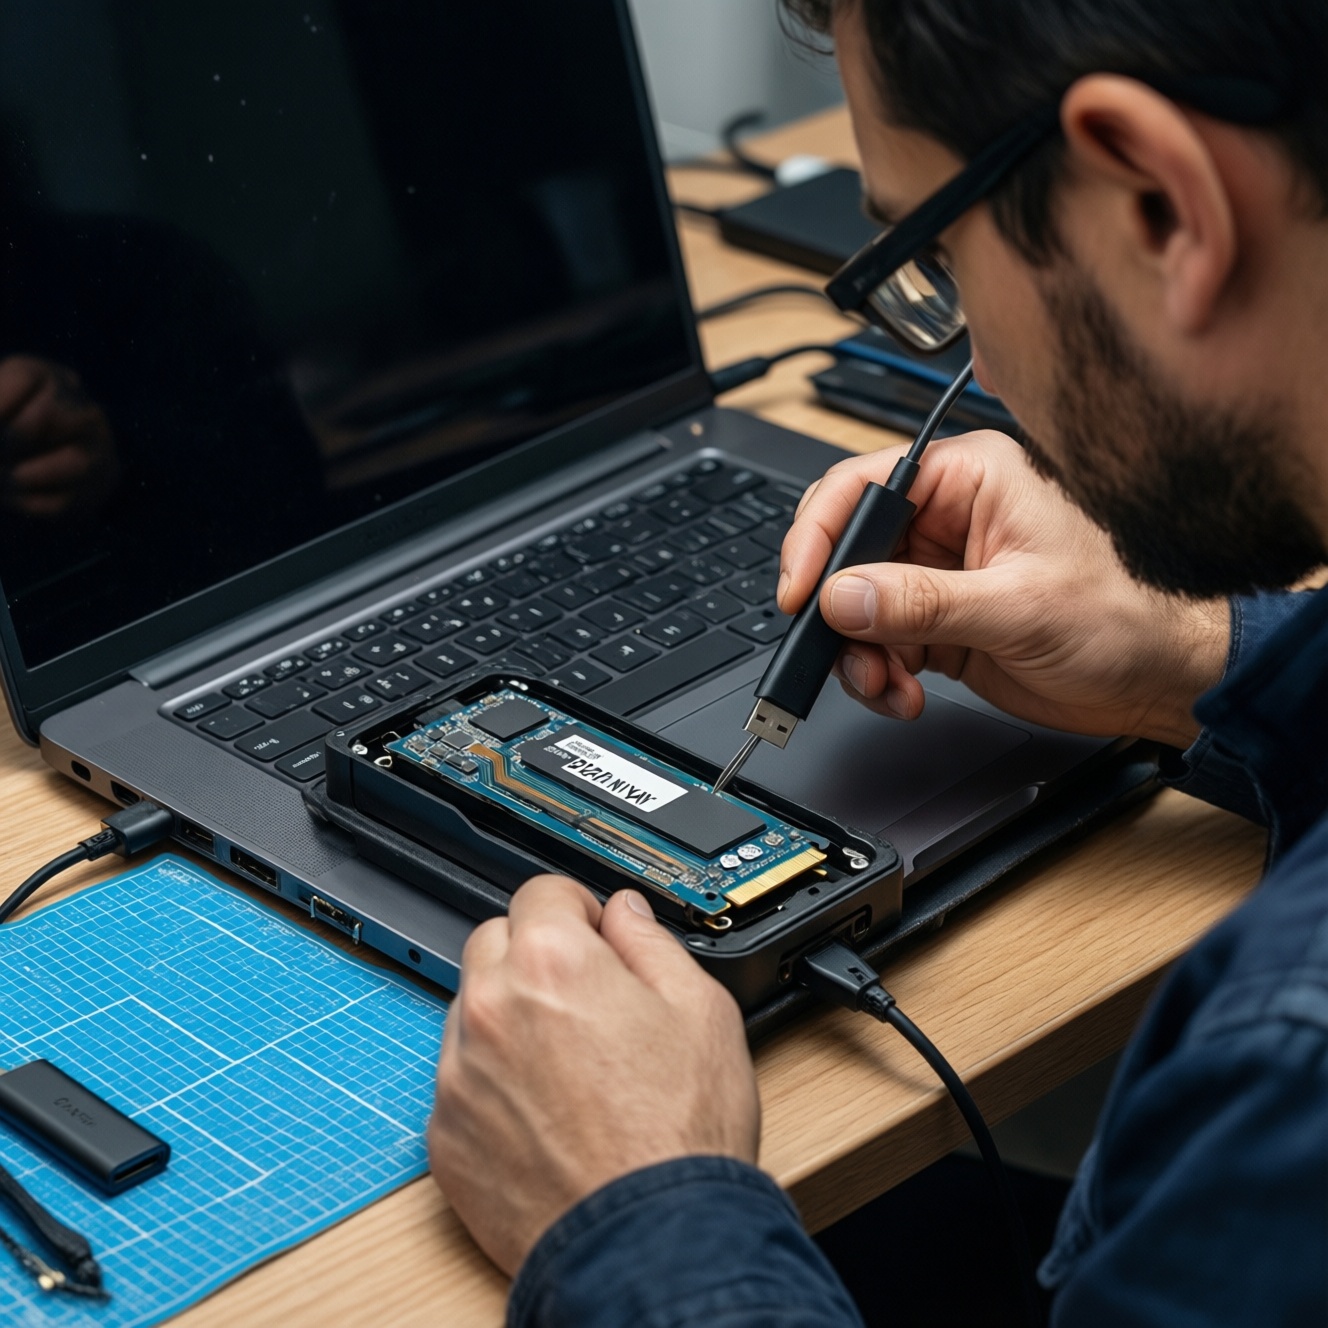
Connect the new SSD correctly via USB
Install the new SSD into the enclosure/dock, then connect directly to a reliable USB port (avoid flaky hubs). For NVMe targets, confirm the enclosure supports NVMe, not only SATA.
- If the drive is not detected, try another port/cable before changing settings.
-
Initialize only when required, and avoid formatting the wrong disk
If the new SSD appears as "not initialized," follow your tool's guidance. Don't create unnecessary partitions if your cloning tool can handle a raw target disk.
-
Run the clone with correct partition handling (UEFI/GPT)
Choose the old SSD as the source and the new SSD as the target, then copy all required boot partitions (EFI System Partition, MSR, OS partition, Recovery). Keep alignment and sector/partition alignment options enabled when available.
- If the target SSD is smaller, shrink the OS partition first so used data fits with margin.
- Prefer intelligent/used-sector copy for speed; use sector-by-sector only for special cases.
-
Validate the clone before opening the laptop
After completion, safely eject the USB device and power down fully (not sleep/hibernate). If your tool supports verification, run it; otherwise, at least confirm the target shows expected partitions.
-
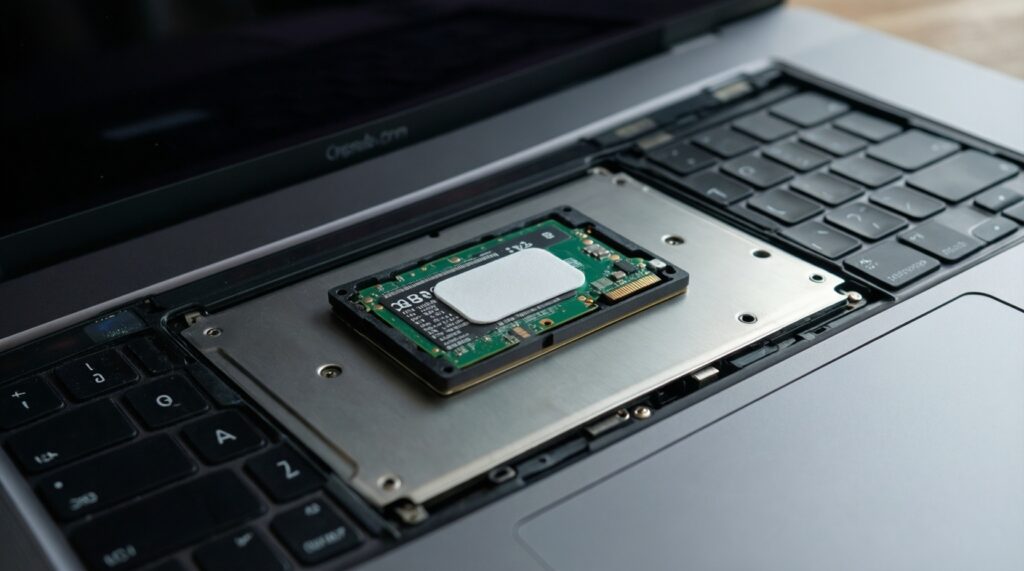
Swap the SSD and keep the original untouched as rollback
Disconnect power, open the back cover, and replace the SSD. Keep the old SSD stored safely without modifying it until the new one boots and passes checks.
BIOS/UEFI Settings to Ensure Proper Boot and Max Throughput
- Confirm the system is set to UEFI boot (not Legacy/CSM) if your OS was installed in UEFI mode.
- Check boot order and ensure the new SSD (or Windows Boot Manager on that SSD) is first.
- Verify the SSD is detected with the expected model name and capacity.
- Keep storage mode consistent with the original install (commonly AHCI for SATA; NVMe is managed differently but BIOS still exposes storage configuration).
- If you use Secure Boot, keep it consistent; only change it if your boot chain requires it.
- If the system fails to boot, try a one-time boot menu selection to choose the correct UEFI entry.
- After first successful boot, confirm the OS sees the new SSD as the system disk and that the old disk is not still referenced in boot entries (when both are connected).
- Check that TRIM is enabled in the OS (important for sustained SSD performance).
Thermal Risk Mitigation: Cooling, Throttling, and Mounting Best Practices
- Skipping thermal pads/shields (where the laptop expects them): reinstall the original pad or use an appropriate replacement so the SSD contacts the laptop's heat spreader.
- Incorrect pad thickness: too thick can bend the module; too thin won't transfer heat. Aim for firm contact without warping.
- Leaving the SSD screw loose or missing standoff: poor mounting can cause intermittent disconnects under heat and vibration.
- Cloning on a soft surface: blankets/sofas block airflow and can push NVMe into throttling during long writes.
- Assuming higher performance always helps: some high-end NVMe drives run hotter; consider your chassis cooling limits, not only specs.
- Ignoring thermal throttling symptoms: sudden speed drops, stutters, or installation failures under load often point to heat, not software.
- Over-tightening the M.2 screw: can damage the PCB or standoff; tighten to secure, not to maximum force.
- No post-upgrade cleaning: dust-clogged vents/fans reduce SSD and overall system cooling; clean carefully during the upgrade window.
Post-migration Verification, Recovery Plans, and Performance Tuning
- Rollback plan (recommended for risk-aware upgrades): keep the original SSD unchanged for a few days. If anything is unstable, swap back to restore service fast.
- Image-based recovery path: if cloning fails or boot records are messy, restore from a system image using recovery media, then repair boot entries.
- Clean install option: use when the clone repeatedly fails, the old OS is corrupted, or you want a fresh baseline; migrate data afterward.
- Performance tuning after stable boot: update chipset/storage drivers if needed, confirm TRIM, and only then consider enabling optional features (like vendor caching) if you understand rollback steps.
Common Concerns, Failure Modes, and Rapid Fixes
The new SSD doesn't appear in Windows or the cloning tool. What now?
Verify the enclosure supports the correct protocol (NVMe vs SATA) and try a different USB port/cable. Avoid USB hubs; connect directly to the laptop.
The clone finished, but the laptop boots to BIOS or says no boot device. What should I change first?
Set the UEFI boot entry for the new drive (often "Windows Boot Manager") as first in boot order. If both drives are connected, temporarily remove the old one to prevent boot confusion.
After the swap, I'm prompted for a BitLocker recovery key. Is that normal?
Enter the saved recovery key, then verify encryption status once logged in. If you don't have the key, reinstalling or restoring from a prepared recovery path may be required.
Cloning is extremely slow or fails mid-way on an NVMe upgrade. What is the quickest fix?

Suspect heat or an unstable USB link: improve airflow, use a shorter/better cable, and avoid running on soft surfaces. If needed, switch to an image-and-restore approach.
Can I clone from a larger SSD to a smaller one safely?
Yes only if the used space fits on the target after shrinking partitions safely. Leave extra free space to avoid failures during updates and future writes.
Is choosing based on SSD NVMe ราคา or SSD SATA ราคา enough for a good upgrade?
No; your laptop slot type and cooling limits decide what works. Buy the interface your laptop supports, then pick a model with solid warranty/support and manageable thermals for your chassis.