If you want the most value when you อัปเกรดคอมพิวเตอร์ one part at a time, identify the current bottleneck first, then upgrade in an order that matches your workload: GPU for gaming/3D, SSD for overall responsiveness, CPU for heavy compute and high-FPS consistency, and monitor when your display limits what you can see or do. Verify compatibility before spending.
Priority snapshot: what to upgrade first
- Gaming at 1080p/1440p: GPU first, then monitor (refresh rate), then CPU if frame-time spikes remain.
- Everyday speed (boot/app load): SSD first (OS + apps), then RAM if multitasking feels tight.
- Content creation (video/photo): SSD (scratch/project) + CPU/platform, GPU next if your apps accelerate exports/effects.
- Competitive esports: Monitor (high refresh) + stable FPS path (CPU/ram) before chasing a higher-tier GPU.
- Old platform limits: If CPU/motherboard/RAM are outdated, plan a platform refresh instead of isolated CPU-only swaps.
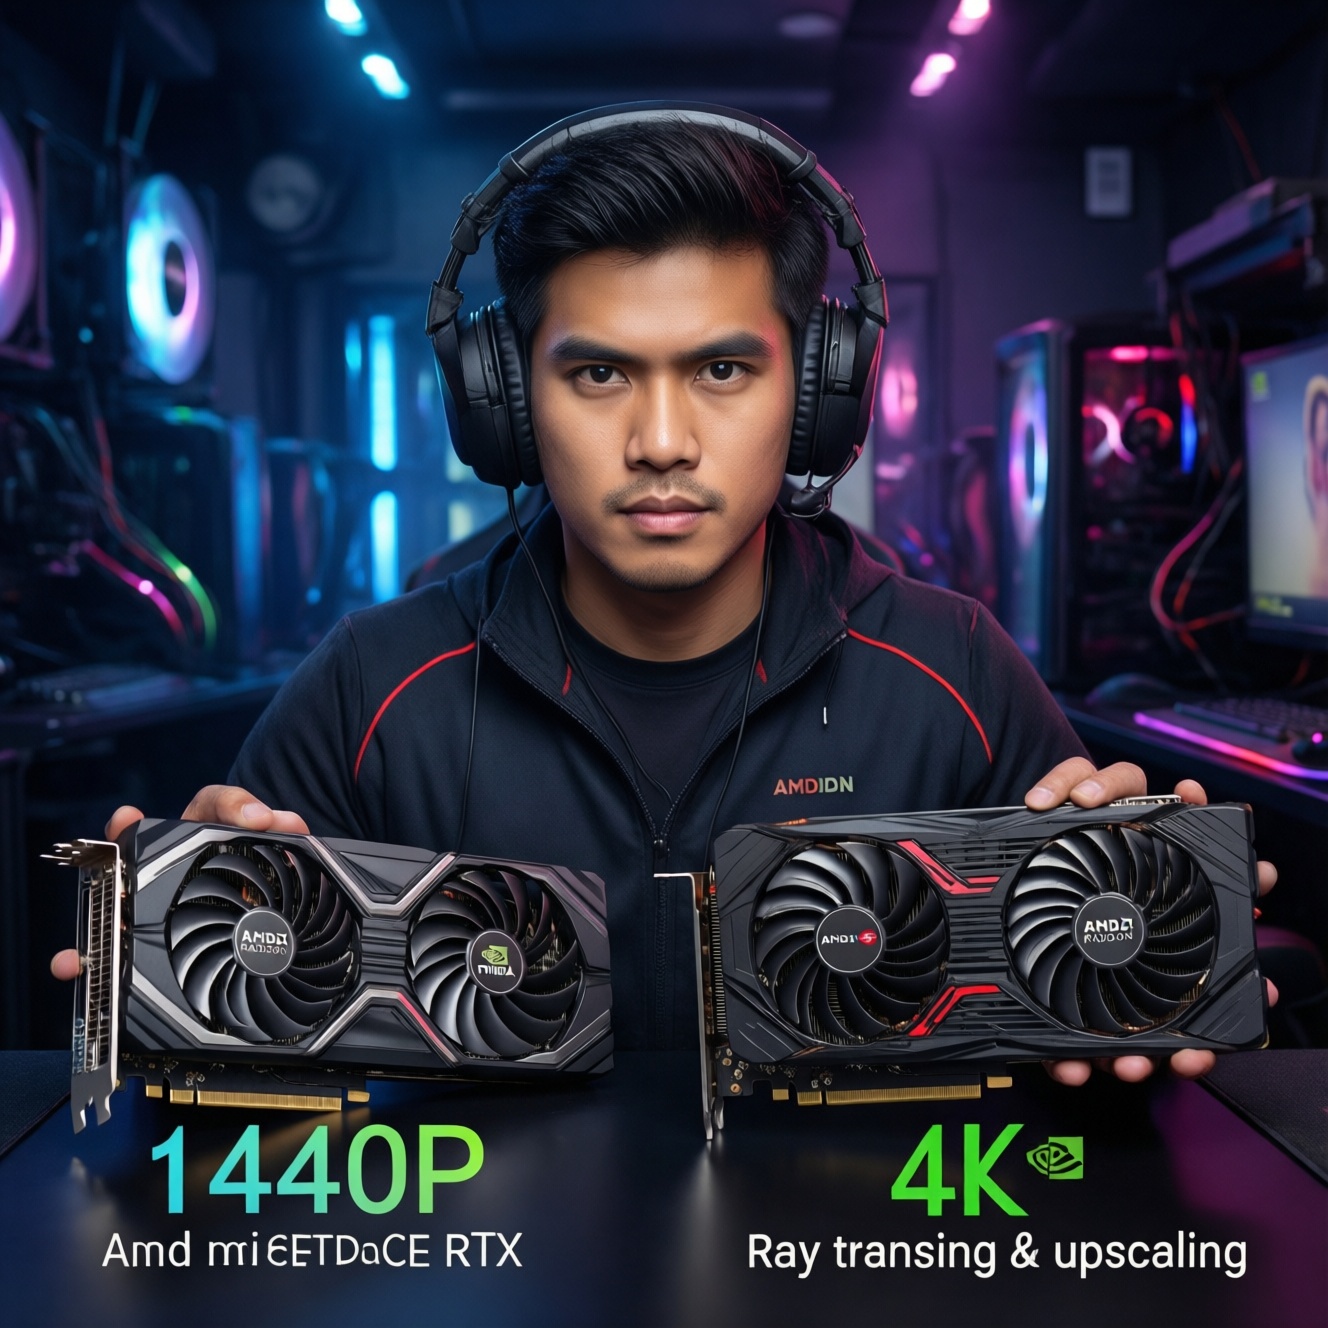
GPU first: when graphics performance delivers the biggest gains
A GPU upgrade makes the biggest visible difference when you play modern games, use 3D rendering, or rely on GPU-accelerated effects. It is also the main driver behind higher settings, higher resolution, and smoother frame rates-where "อัปเกรดการ์ดจอ ราคา" is often justified by immediate FPS gains.
Don't prioritize GPU first if your PC already stutters in basic tasks, takes long to boot, or frequently hits 100% CPU usage in games (you may be CPU/SSD-limited). Also avoid a GPU jump if your PSU, case airflow, or monitor can't support the upgrade sensibly.
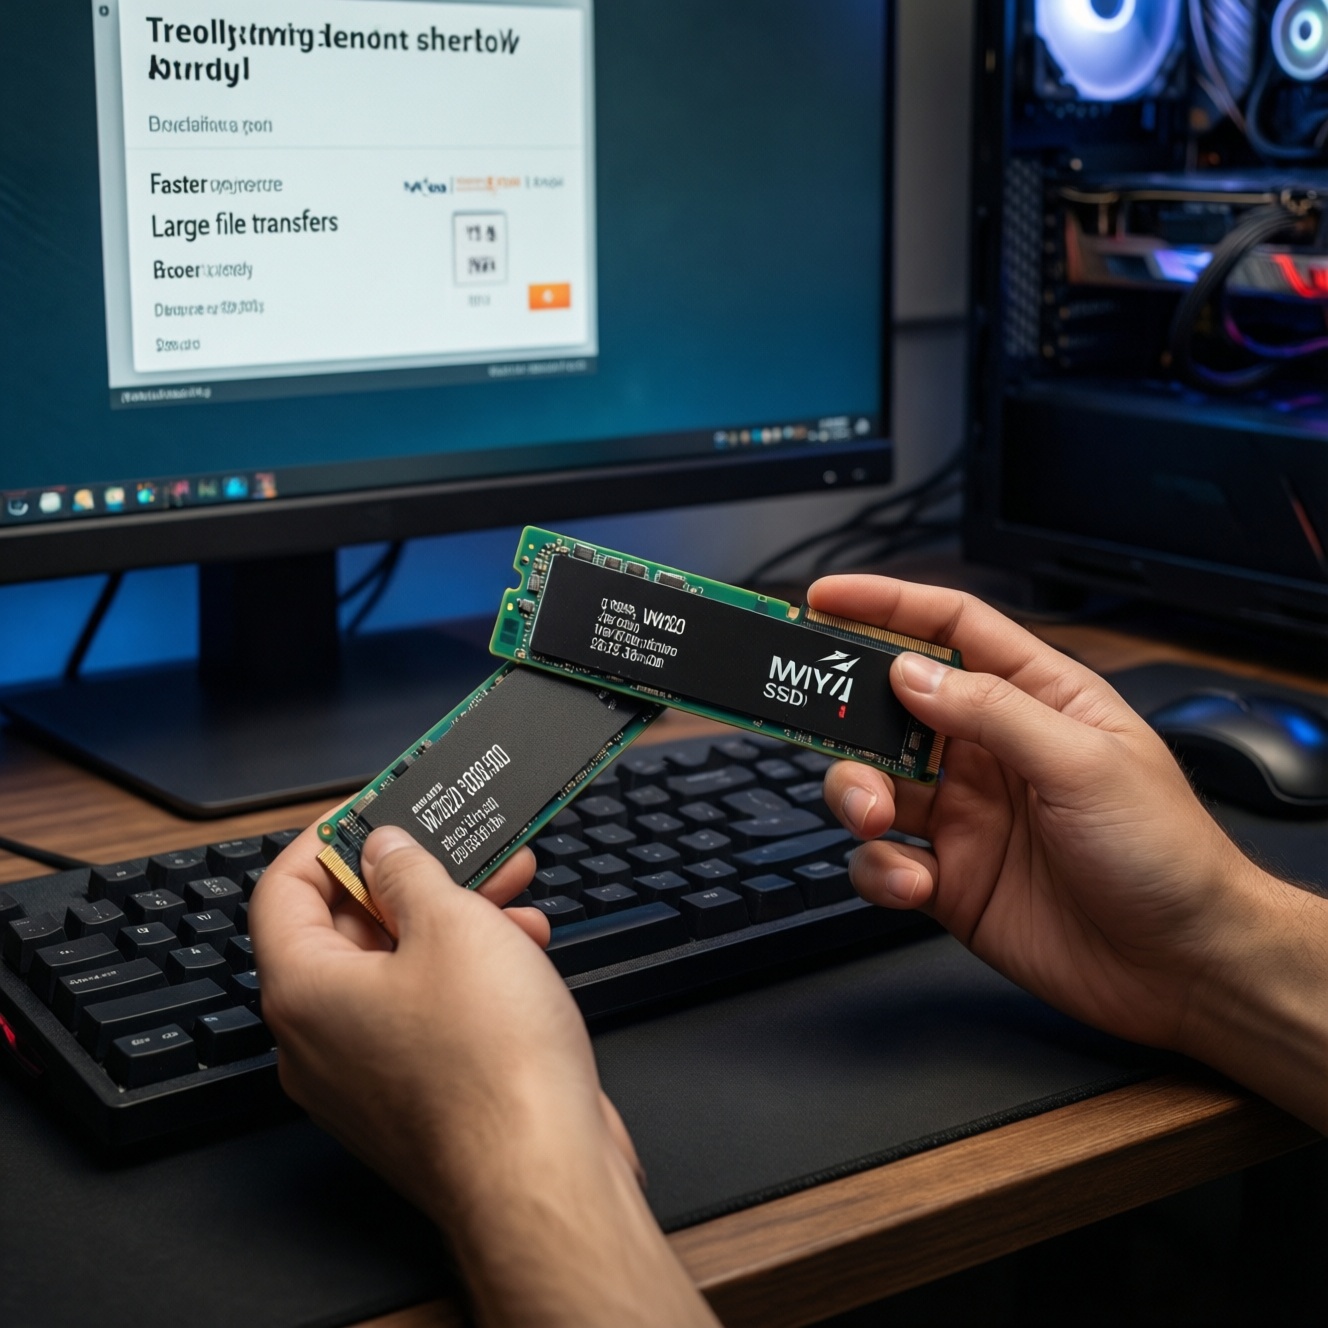
SSD as the immediate snappiness boost: types, capacities, and use cases
An SSD upgrade is the safest "feel-it-everywhere" change: faster boot, faster app launches, less waiting during updates and file operations. If you are comparing "ซื้อ SSD ราคา", focus on the correct form factor and your motherboard support first, then choose capacity for your actual data footprint.
What you need before buying/installing
- Know your slot/type: 2.5-inch SATA vs M.2 (SATA) vs M.2 NVMe (PCIe). Check your motherboard manual/spec page.
- Free connectors: SATA data + SATA power (for 2.5-inch) or an available M.2 slot (for M.2).
- Backup plan: External drive/cloud for critical files; consider cloning only if your current OS is healthy.
- Tools: Small Phillips screwdriver; optional anti-static wrist strap.
- Access: Admin access to Windows, BitLocker recovery key if device encryption is enabled.
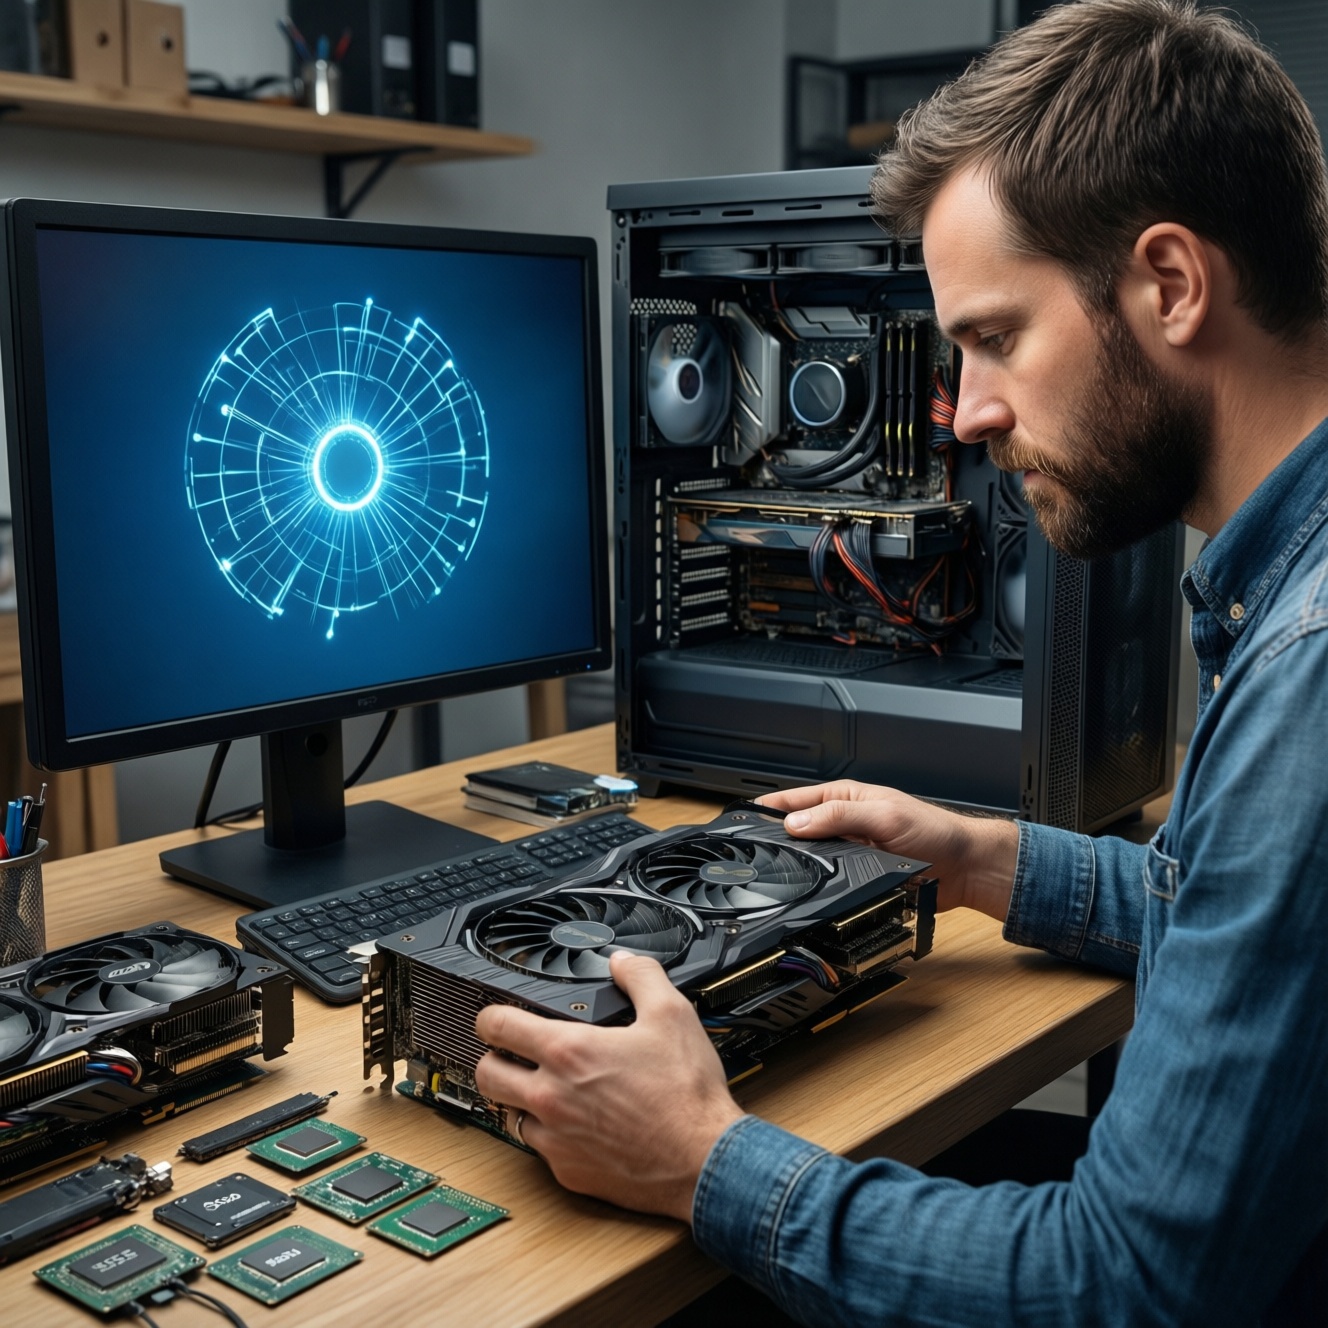
CPU upgrade: diagnosing CPU bottlenecks and platform limits
Prep checklist (do this before you shop)
- Back up important files and create a Windows recovery option (USB recovery drive or system restore point).
- Update motherboard BIOS/UEFI (only if you're confident; avoid power loss during update).
- Confirm socket + chipset CPU support and RAM type (DDR4/DDR5); check the vendor CPU support list.
- Check cooler mounting compatibility and thermal paste availability.
- Record your PSU model/wattage and the current CPU temps under load.
-
Confirm the bottleneck with a repeatable test
Run one game/benchmark you actually use and monitor CPU usage per core, GPU usage, and frame-time consistency. A CPU bottleneck often looks like high CPU usage on a few cores while GPU usage stays noticeably below its typical maximum during gameplay.
- For productivity: watch CPU usage and "disk active time" during exports/compiles to avoid blaming the CPU when storage is the limiter.
- For gaming: compare behavior at low vs high resolution-if FPS barely changes, you're likely CPU-limited.
-
Map your platform limits (socket, chipset, RAM, BIOS)
Before you compare "อัปเกรด CPU ราคา", ensure your motherboard supports the target CPU and that your RAM type matches the platform. Some upgrades require a BIOS update and may not support certain CPUs at all.
- Check: motherboard model, current BIOS version, and vendor CPU support list.
- Note: a CPU swap that forces new motherboard/RAM often changes the best upgrade order.
-
Validate cooling and power headroom
Higher-performance CPUs can raise heat output and sustained power draw. If your current CPU already runs hot or your case airflow is weak, upgrade cooling first to avoid throttling and noisy fans.
- Ensure cooler mounting fits your socket and case clearance.
- Clean dust filters and heatsinks before concluding you need new hardware.
-
Choose the CPU based on your real workload
For high-refresh gaming, prioritize stronger single-core performance and stable boosts; for rendering and heavy multitasking, more cores can matter. Avoid paying for features you won't use (e.g., extra cores for a PC that only browses and plays light games).
-
Upgrade safely (swap, paste, seat, boot, verify)
Power off, unplug, discharge residual power, then replace the CPU carefully without bending pins/contacts. Apply thermal paste correctly, mount the cooler evenly, then boot into BIOS to confirm detection and temperatures before stressing in Windows.
- If the system fails to boot: clear CMOS, reseat RAM, verify BIOS version supports the CPU.
- After boot: run a short stress test and monitor temps to confirm no throttling.
Monitor upgrade: choosing resolution, refresh rate and panel for workflows
If you're evaluating "ซื้อจอมอนิเตอร์ ราคา", treat the monitor as a productivity tool and a performance "multiplier": it defines what refresh rate you can actually use and how sharp your workspace feels. Match resolution and refresh to both your GPU capability and your daily tasks.
Post-upgrade verification checklist
- Set the correct native resolution and refresh rate in Windows and the GPU control panel.
- Use the right cable/port (e.g., DisplayPort vs HDMI) for your target refresh/resolution.
- Enable adaptive sync if supported (FreeSync/G-SYNC Compatible) and confirm it's active.
- Check for overscan, incorrect scaling, or blurry text; adjust scaling and sharpness settings.
- Calibrate basic picture settings: brightness, contrast, and color temperature for your room lighting.
- Test for dead pixels/backlight issues during the return window.
- Confirm your games/apps are using the intended display and not mirroring at a lower refresh rate.
- Reassess GPU load: a jump in resolution (e.g., 1080p to 1440p/4K) can shift the bottleneck back to the GPU.
System compatibility checklist: PSU, motherboard, cooling and BIOS notes
- Buying a GPU without checking PSU connectors: confirm PCIe power plugs and quality PSU model, not just "wattage on the label".
- Forgetting physical clearance: GPU length/thickness vs case, front radiator, and cable bend space.
- M.2 slot confusion: some slots support NVMe only, some SATA only, some share lanes with SATA ports.
- BIOS mismatch: CPU upgrades may require a BIOS update before the new CPU will boot.
- Thermal throttling: upgrading CPU/GPU without improving airflow, fan curves, or cleaning dust.
- RAM instability after a CPU/platform change: XMP/EXPO profiles may need retuning; start at default if unstable.
- Windows encryption surprises: BitLocker/device encryption can prompt for recovery keys after hardware changes.
- Ignoring workload balance: pairing a very high-end GPU with an old CPU can waste money for certain games.
Practical upgrade sequences by budget: short tables with ROI-minded choices
Use these sequences as starting points, then adjust based on your bottleneck test. They're designed to reduce the risk of buying the "right" part at the wrong time.
Entry tier (keep the platform, maximize responsiveness)
| Primary use | Recommended order | Prep checklist (quick) |
|---|---|---|
| General productivity | SSD → RAM (if needed) → monitor | Check M.2/SATA support; back up data; confirm RAM slots and max capacity. |
| Light gaming | SSD → GPU (value segment) → monitor (optional) | Verify PSU connectors; measure case clearance; set expectations for your CPU. |
Mid tier (balanced gaming and creation)
| Primary use | Recommended order | Prep checklist (quick) |
|---|---|---|
| 1080p/1440p gaming | GPU → monitor (high refresh) → CPU (if CPU-limited) | Check PSU quality and airflow; confirm monitor ports/cables; validate CPU support list. |
| Photo/video work | SSD (NVMe if supported) → CPU/platform → GPU (if acceleration helps) | Confirm scratch/project drive plan; BIOS update readiness; cooler compatibility. |
High tier (performance-first, fewer compromises)
| Primary use | Recommended order | Prep checklist (quick) |
|---|---|---|
| High-refresh competitive | Monitor → CPU/platform → GPU | Confirm target refresh via DP/HDMI spec; tune RAM stability; plan consistent cooling. |
| 4K / heavy 3D | GPU → monitor (4K/HDR if desired) → SSD capacity | Verify PSU headroom/connectors; case clearance; plan storage for large assets. |
Price-check tip for Thailand: when comparing อัปเกรดการ์ดจอ ราคา, ซื้อ SSD ราคา, อัปเกรด CPU ราคา, or ซื้อจอมอนิเตอร์ ราคา, always compare total cost including any required extras (PSU, cooler bracket, cables, Windows reinstall time) to avoid "hidden" upgrade costs.
Answers to common upgrade dilemmas
Should I upgrade GPU or SSD first for a slow PC?
If the whole system feels sluggish (boot, apps, updates), SSD first. If only games are slow but Windows feels fine, GPU first.
When does a CPU upgrade make more sense than a GPU upgrade?
If you see frequent frame-time spikes, low GPU utilization in games, or CPU usage pegged on a few cores, a CPU upgrade can help more. Also prioritize CPU for heavy exporting, compiling, and multitasking workloads.
Will a new monitor increase FPS?
No-FPS comes from the PC. A monitor with higher refresh rate only lets you see more frames if your GPU/CPU can produce them consistently.
Is NVMe always better than SATA SSD for real-world use?
NVMe is faster on paper, but everyday "snappiness" often improves similarly with any SSD. Choose NVMe when you move large files often or do heavy media/project work.
Can I upgrade CPU without reinstalling Windows?
Often yes for same-platform CPU swaps, but stability varies. For a new motherboard/platform, be prepared for driver cleanup and potential reinstall if issues appear.
What's the biggest mistake when chasing the cheapest upgrade price?
Ignoring compatibility and required extras. The lowest sticker price can become expensive if you must replace PSU, cooler, or even the motherboard to make it work.